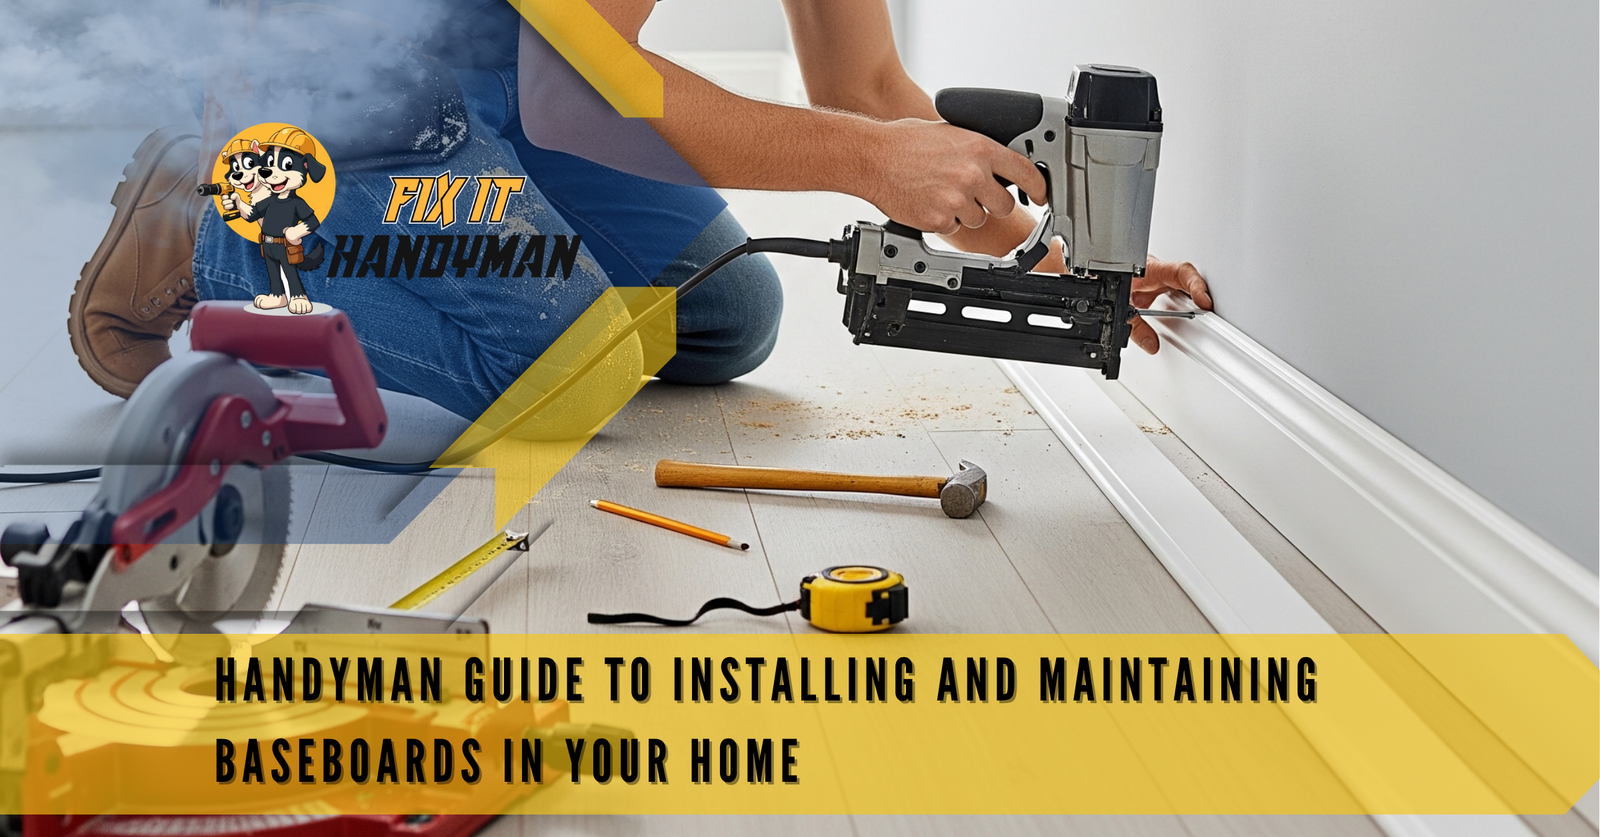
Introduction: Why Baseboards Matter in Home Improvement
Baseboards may seem like small details, but they play a big role in giving rooms a polished and professional look. They cover gaps between floors and walls, protect drywall from damage, and enhance the overall style of your space.
Whether you’re a handyman or DIY homeowner, this guide will walk you through how to install and maintain baseboards efficiently.
Tools and Materials Needed for Baseboard Installation
Before you begin, gather all necessary tools to avoid interruptions:
Tools:
- Measuring tape
- Miter saw or hand saw
- Nail gun or finishing nails, and hammer
- Caulking gun
- Level
- Stud finder
- Sandpaper
- Putty knife
Materials:
- Baseboard molding
- Wood glue or adhesive
- Wood filler or spackle
- Paint or stain
- Painter’s tape
- Caulk
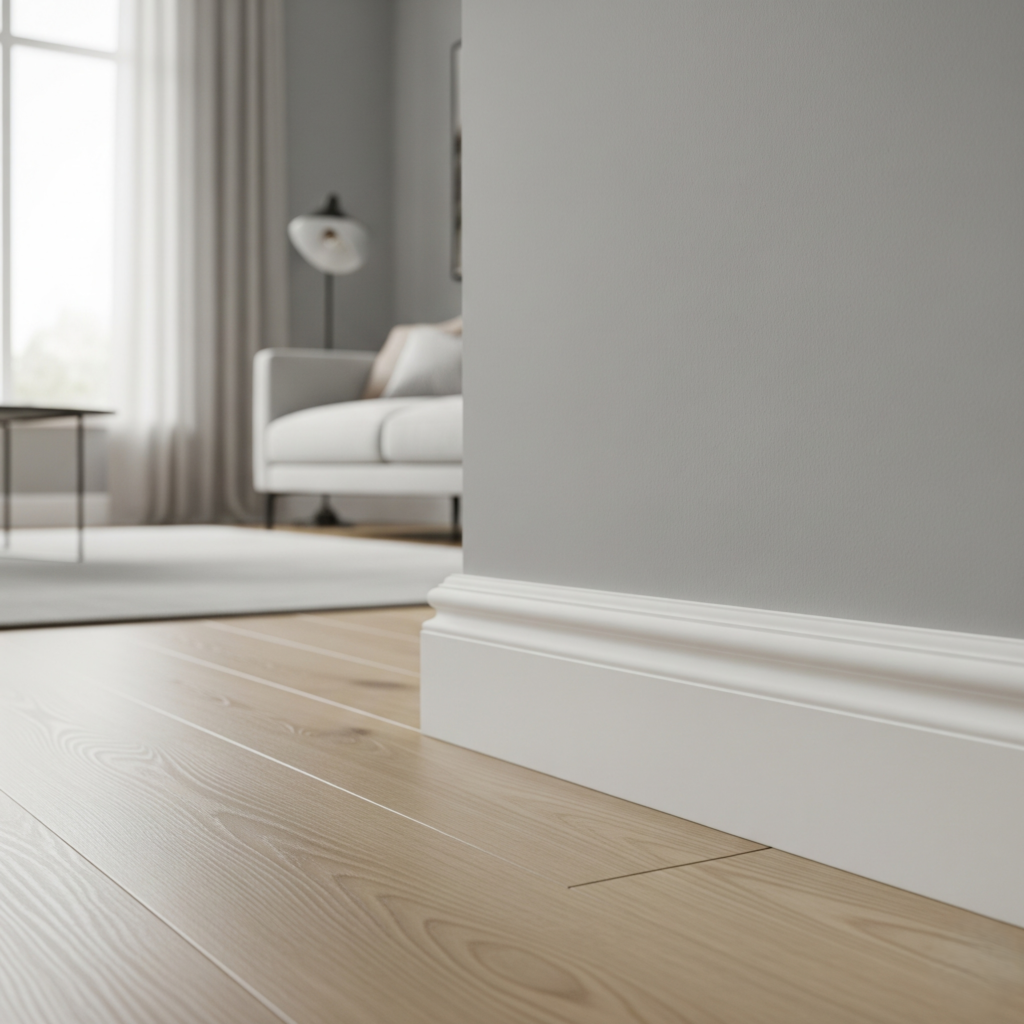
Choosing the Right Baseboards for Your Home
There are various styles and sizes of baseboards to match your home’s aesthetic:
1. Traditional Baseboards
- 3–5 inches tall
- Simple, rounded edge
- Works in most standard homes
2. Modern Baseboards
- Tall and flat with clean lines
- Best for minimalist or contemporary homes
3. Decorative Baseboards
- Includes beading or stepped profiles
- Adds elegance to formal rooms
4. Vinyl or MDF Baseboards
- Cost-effective and moisture resistant
- Great for basements or bathrooms
Step-by-Step Baseboard Installation Guide
Step 1: Measure and Plan
Use a measuring tape to determine the total length of the walls. Buy 10–15% more material to allow for errors and cuts.
Pro Tip: Measure twice, cut once.
Step 2: Cut Baseboards to Length
Use a miter saw to make precise 45-degree cuts for corners. For straight cuts (ends against walls or door frames), use a straight 90-degree cut.
Step 3: Dry Fit Before Nailing
Place your pieces against the wall to test the fit before attaching. Make necessary adjustments.
Step 4: Attach Baseboards to the Wall
Using a nail gun or hammer, attach the baseboard to the wall studs. Space nails every 16 inches. Use adhesive for additional hold.
Step 5: Fill Gaps and Nail Holes
Use caulk for wall gaps and wood filler for nail holes. Once dry, sand smooth.
Step 6: Paint or Stain the Baseboards
Paint or stain the baseboards after installation for a cleaner look. Use painter’s tape to avoid wall and floor messes.
Maintaining Baseboards for Long-Term Durability
Baseboards are prone to scuff marks, dust buildup, and water damage. Regular maintenance keeps them looking new and extends their life.
1. Routine Cleaning
Use a microfiber cloth or vacuum with a brush attachment to remove dust and pet hair.
2. Remove Scuff Marks
Use a magic eraser or a damp cloth with mild detergent to remove scuffs or shoe marks.
3. Re-Caulk When Necessary
If caulking begins to crack or peel, remove and reapply to maintain a seamless finish.
4. Repaint Scratched or Faded Baseboards
Touch up paint annually, especially in high-traffic areas like hallways and entryways.
When to Replace Baseboards
Sometimes, maintenance isn’t enough. Replace baseboards if you notice:
- Mold or water damage
- Warping or swelling
- Cracks or breaks
- Separation from the wall
Cost of Baseboard Installation
| Service | Estimated Cost (USD) |
|---|---|
| DIY Baseboard Installation | $1.25 – $2.50 per linear foot |
| Professional Installation | $4 – $8 per linear foot |
| Premium Decorative Materials | $2 – $5 per linear foot |
Installing baseboards yourself can save hundreds of dollars if you have the right tools and patience.
Tips for a Professional Finish
- Always caulk and sand before painting
- Use longer boards to avoid unnecessary seams
- Match baseboards to crown molding or door trims for design cohesion
- Use spackle for seamless corners and nail holes
- Let the paint cure fully before mopping or cleaning near the baseboards
Common Mistakes to Avoid
- Cutting corners too tightly or loosely
- Skipping caulk or filler for gaps
- Using the wrong nails or skipping studs
- Painting before installation (risks scratching during fitting)
- Ignoring wall imperfections before attaching
Conclusion: A Small Upgrade That Makes a Big Difference
Installing and maintaining baseboards might seem like a minor project, but it has a major impact on your home’s appearance and value. With the right tools, preparation, and care, any handyman or DIY enthusiast can transform their space with crisp, clean lines along every wall.