Introduction
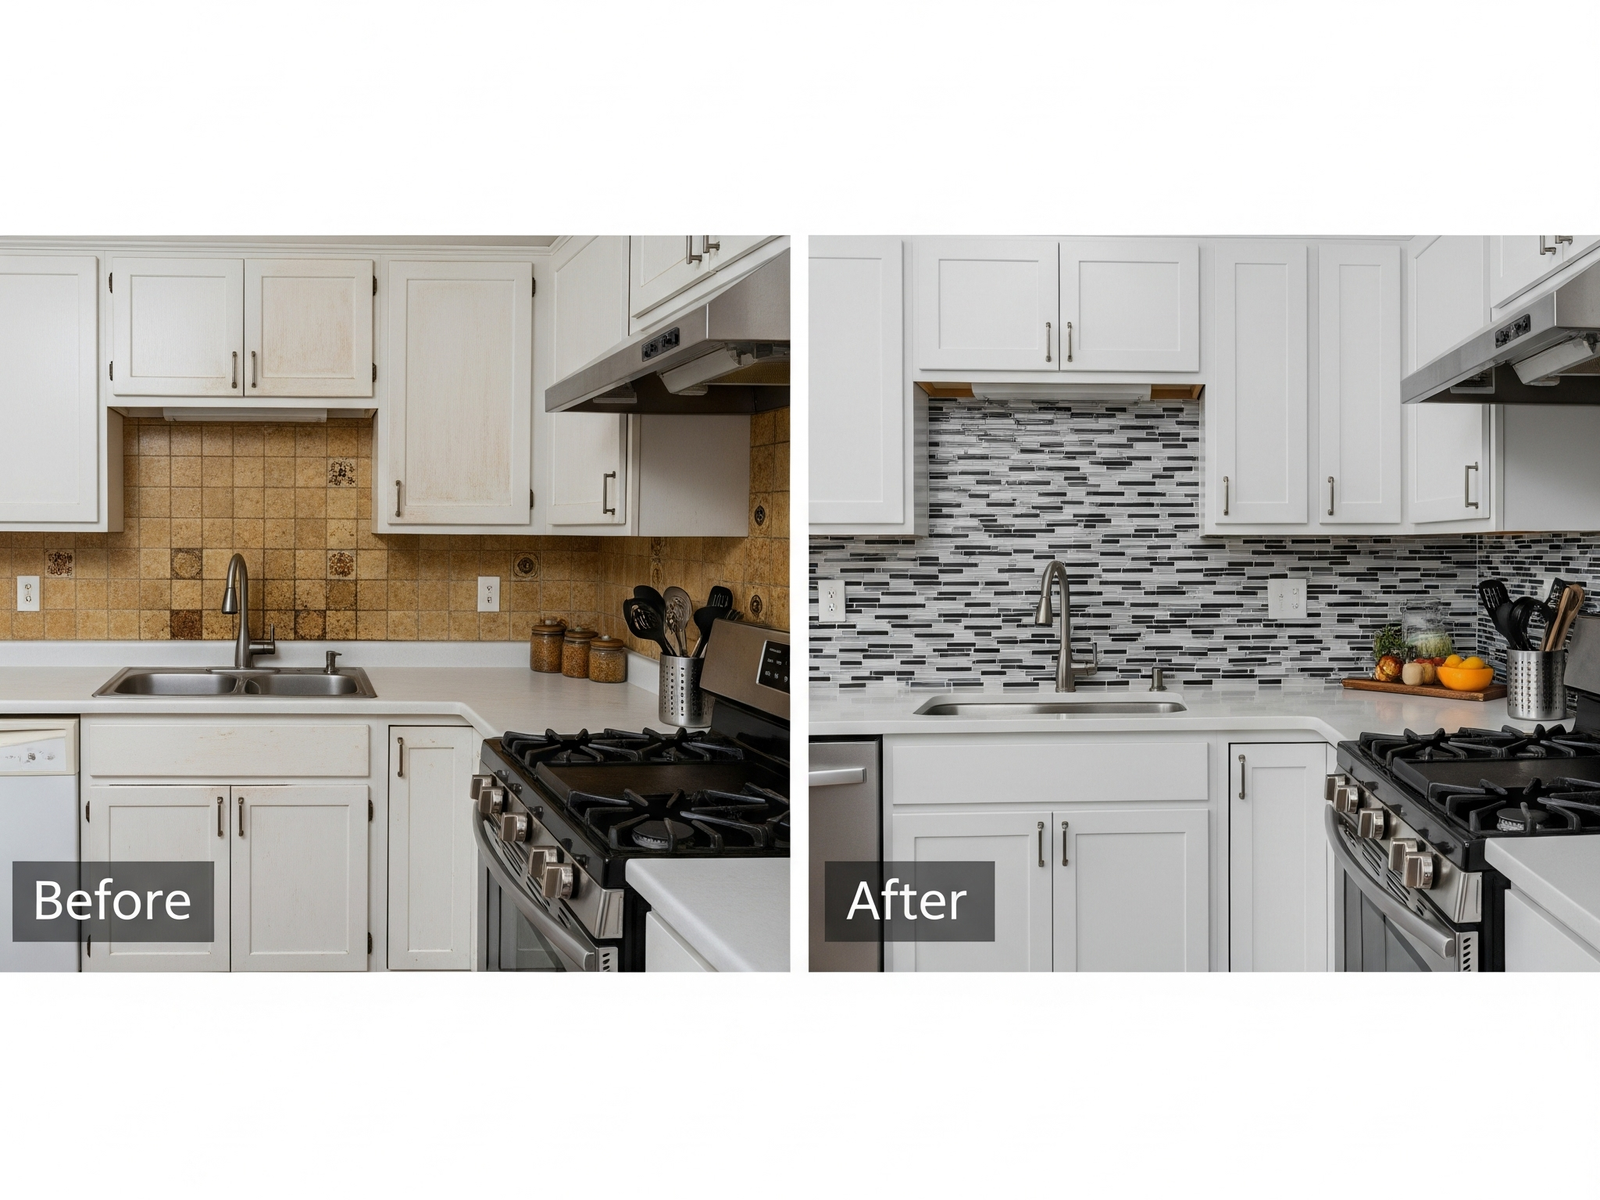
When your kitchen feels outdated, a complete remodel isn’t always necessary or affordable. Installing a new backsplash can transform the look of your space at a fraction of the cost. But where do you start? This is where a handyman’s skills become invaluable. In this guide, we’ll explore the best ways a handyman can help you install new kitchen backsplashes without the mess, stress, or expense of a full renovation.
Why Choose a Handyman for Your Backsplash Installation?
A handyman is the perfect professional to handle small but impactful kitchen updates like backsplashes. Here’s why:
- Cost-effective: Handymen usually charge less than specialized contractors.
- Versatile skills: They can manage everything from measuring to sealing.
- Time-saving: A handyman can often complete backsplash installation in just a day or two.
Step-by-Step Help You Can Expect
1. Consultation and Design Advice
Before any tiles are cut or adhesives mixed, a handyman can offer practical design suggestions based on your kitchen’s layout, lighting, and style.
They’ll help you decide between:
- Ceramic, glass, or peel-and-stick tiles
- Patterns like subway, herringbone, or mosaic
- Coordinating colors to match your countertops and cabinets
2. Precise Measurement and Planning
A professional handyman measures the backsplash area carefully, ensuring:
- Accurate material calculation
- Reduced waste
- Perfect alignment for outlets and corners
Proper measurement is the foundation of a clean, professional finish that looks like it came from a high-end remodel.
3. Wall Preparation
Before installation, the handyman will:
- Clean the wall to remove grease and dust
- Patch small holes or uneven spots
- Apply primer if necessary for better adhesive bonding
These steps prevent issues like tiles slipping or adhesive not sticking properly.
4. Expert Tile Cutting and Fitting
One of the trickiest parts of installing a backsplash is cutting tiles to fit around outlets, switches, and corners. A handyman uses the right tools, such as:
- Tile cutters for straight lines
- Wet saws for precise, clean cuts
- Tile nippers for curves or tight spots

This ensures every piece fits perfectly, creating a seamless look.
5. Professional Adhesive Application
Your handyman knows which adhesive suits your chosen tiles and wall type:
- Thinset mortar for ceramic and stone
- Tile mastic for lightweight tiles
- Specialized adhesive for peel-and-stick options
Proper adhesive prevents tiles from loosening over time and keeps your backsplash looking great for years.
6. Grouting and Sealing
After the tiles are set, grouting fills the spaces between them, protecting against moisture and adding style. Your handyman can:
- Choose the right grout color (matching, contrasting, or neutral)
- Apply grout evenly and wipe excess quickly
- Seal the grout to prevent staining and mold
7. Finishing Touches
Finally, your handyman can:
- Add trim or edging for a polished look
- Install new outlet covers to match your backsplash
- Clean the tiles and seal them if needed
These details elevate the project, making it feel like a designer upgrade, without the remodel price tag.
Additional Tips to Maximize the Impact
A handyman can help you stretch your budget further by:
- Installing backsplashes only behind the stove or sink
- Using leftover tiles creatively around the kitchen
- Mixing premium tiles with budget-friendly options
These approaches create a custom, stylish effect without extra cost.
Benefits Beyond Beauty
A new backsplash isn’t just about looks. It also:
- Protects walls from water, grease, and stains
- Makes cleaning easier
- Increases home value if you plan to sell
Conclusion
You don’t need a full kitchen remodel to enjoy a fresh, updated space. With the help of a skilled handyman, installing a new backsplash becomes an affordable, quick, and transformative project. From design advice to precise installation, a handyman makes it easy to revitalize your kitchen, beautifully and efficiently. Contact us today!